
STEP 1: GROSSING AND FIXATION
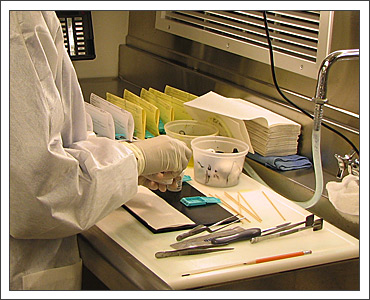
Tissue specimens taken from routine surgical cases are examined, described, and trimmed to proper size. This process is referred to as "grossing the specimen". The resulting specimens are preserved by placing them in solutions designed to prevent decomposition. This is known as fixation. Fixation ensures that the tissue is preserved in its natural state until processing. Many times a pathologist will consult with the histotechnologist to communicate a desired result or request a specific need.
STEP 2: Processing
Image: The Processing Procedure »
Processing is routinely performed automatically by an instrument which is programmed and maintained by the technologist. During processing, water is removed from tissue through exposure of various chemicals and replaced with melted paraffin wax. This wax infiltrates the tissue, giving it form and structure while preparing it for the next step. Without the infiltration of the paraffin, trying to cut tissue would be similar to cutting a sponge filled with water. Under the pressure of the blade, the sponge would compress and the water would be forced out. Unlike the sponge, which would return to its original shape, tissue would remain compressed. By using melted paraffin, the tissue’s sponge-like holes are filled with paraffin, enabling it to cut without compressing.
STEP 2: Embedding
Image: The Embedding Process »
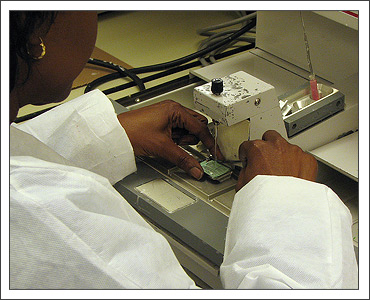
Before the paraffin-infiltrated tissue is cut, it is embedded in a wax block providing additional support during sectioning. Skilled hands and technical expertise are needed to position the tissue properly in the base mold. Correct orientation is critical for an accurate analysis of the specimen. Melted paraffin is then dispensed into the mold which is set aside to cool in preparation for sectioning.
STEP 4: SECTIONING
Image: The Sectioning Process »
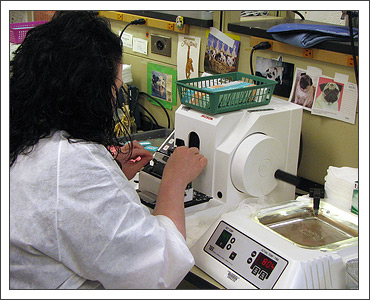
The tissue block is mounted onto a delicate instrument called a microtome. Use of the microtome requires patience, manual dexterity, and the ability to pay careful attention to detail. An extremely sharp blade is used to cut thin sections of the tissue embedded in the wax block. The sections are usually cut form 3 to 6 microns thick and are sectioned one after another, forming a ribbon. The ribbon is carefully floated on a warm water bath to soften and flatten the tissue sections. The sections are then placed on microscope slides and allowed to dry before exposure to staining solutions.
STEP 5: STAINING
Staining causes tissue cells to change color when exposed to various stains. This provides a distinct contrast between cell components, ensuring an accurate examination. Staining covers a wide range of techniques from basic, nonspecific chemical combinations for general scrutiny to delicate staining procedures used to identify specific bacterial types, chemical compounds, or the quantitative location of enzymes.
STEP 6: COVERSLIPPING
Image: The Coverslipping Process »
When staining is complete, the tissue section is ready for coverslipping, which involves applying a protective yet transparent cover onto the tissue section. Coverslipping is needed for microscopic evaluation for most diagnostic applications. It also protects the specimen from exposure to air and subsequent handling
STEP 7: DIAGNOSIS
Image: The Diagnosis Process »
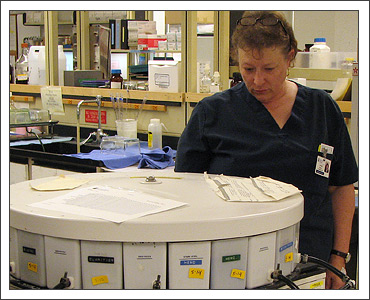
Finished microscopic slides are coupled with patient reports and presented to the pathologist for microscopic description and diagnosis. On many occasions the pathologist may need additional diagnostic information before releasing a case. A variety of special stains and/or tests may be ordered to assist the pathologist in the final diagnosis.

Special content used with the permission of Sakura Finetek, USA.
This presentation is provided for our web visitors and may not be reproduced nor re-used in any form.